Launch guide
SAND Raiders of Sophie Map and Locations Guide
Plan SAND Raiders of Sophie map routes for extraction, Mechanical Parts, Weird Corals, safer beginner paths, and Trampler positioning.
Quick Answer
SAND Raiders of Sophie map planning should start with extraction, not loot. Use the SAND Raiders of Sophie map to pick a route the Trampler can enter, turn around in, defend briefly, and leave from before storage is full. A useful SAND Raiders of Sophie map page should group beginner routes, Mechanical Parts checks, Weird Corals searches, extraction lanes, and high-risk landmarks into practical decisions instead of pretending a single static map solves every raid.
Field Notes
- Map role
- Route planning, extraction timing, resource context, and Trampler positioning
- First route rule
- Plan the exit before the loot path
- Do not invent
- Coordinates, spawn pins, or rare-resource maps without verified captures
- Hub links
- Mechanical Parts, Weird Corals, weapons-ammo, and extraction pages
Source-backed screenshots
Screenshot Walkthrough
Images are pulled from official store, support, or publisher video sources so the page shows real game evidence instead of decorative artwork.
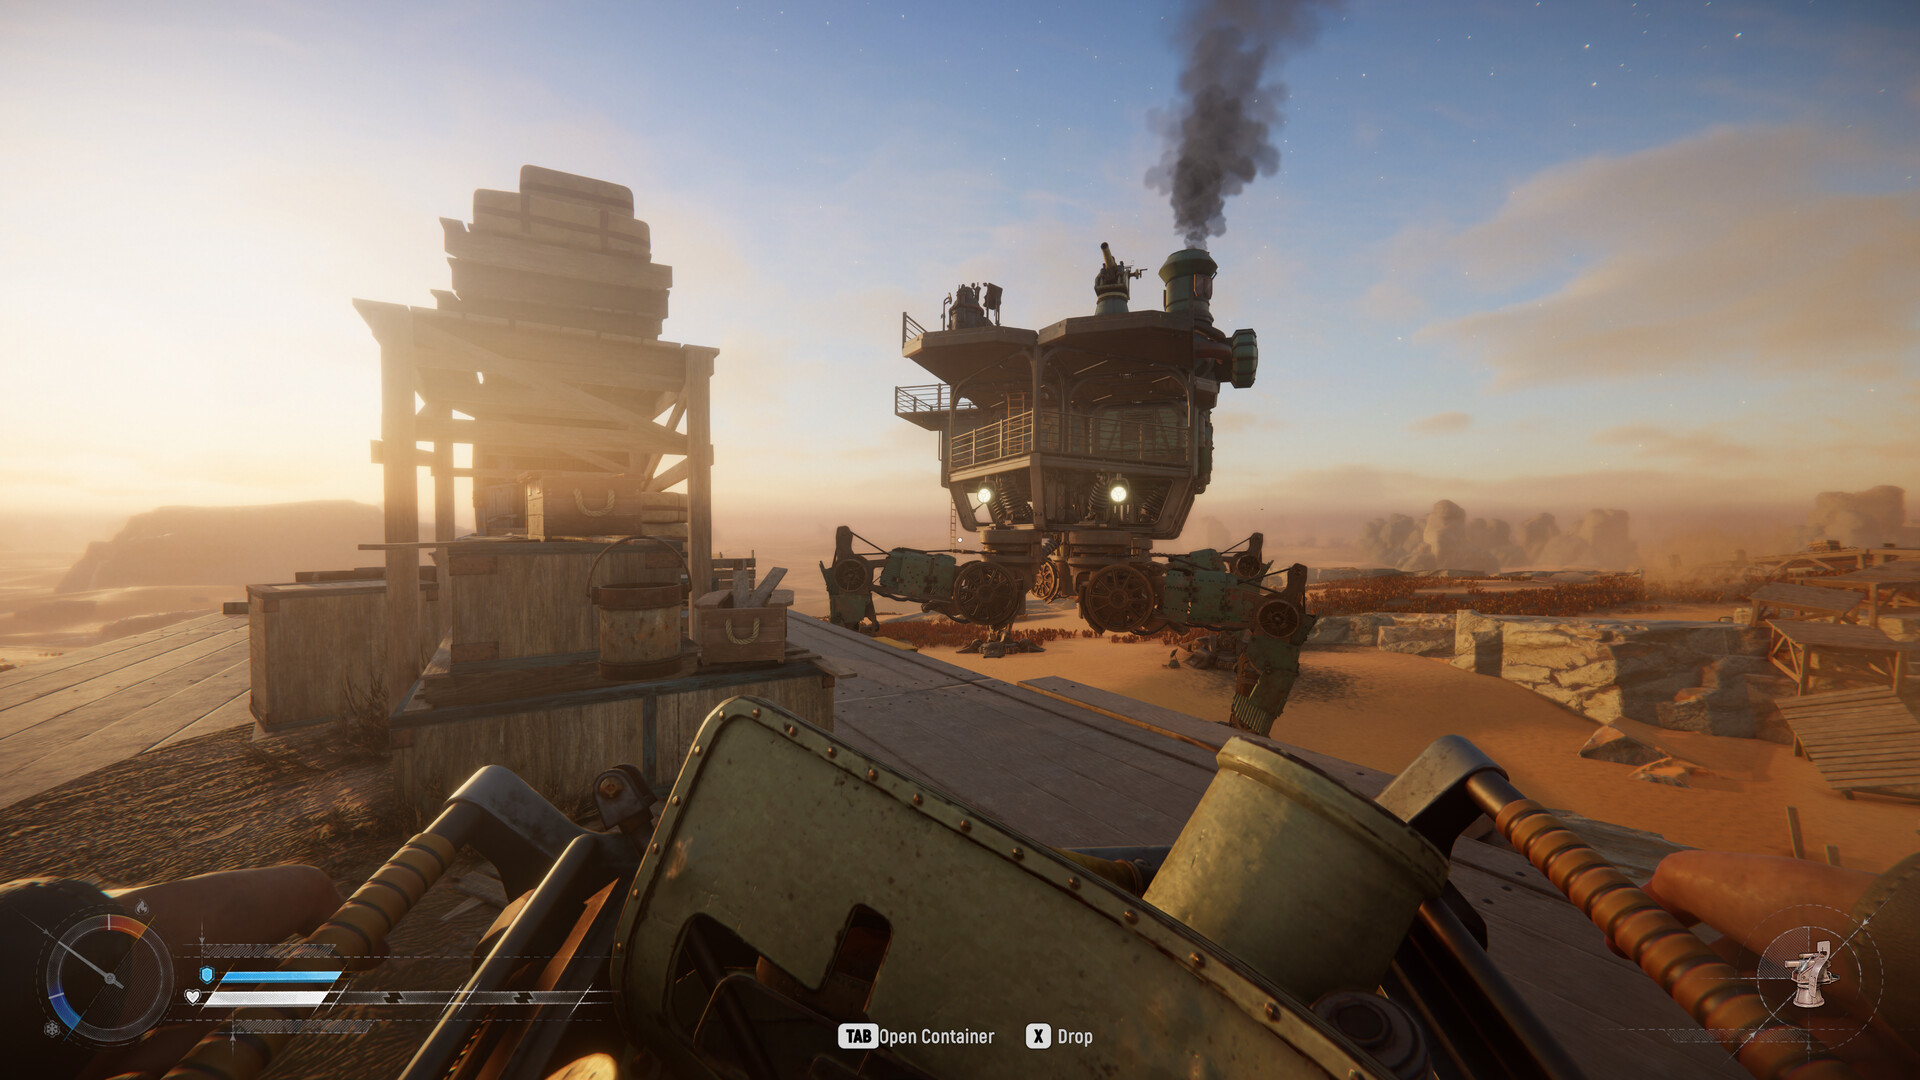
The open desert view is useful for beginner route advice: avoid parking in places where the Trampler cannot turn, retreat, or cover storage.

Ruins and dense landmarks are useful loot targets, but they also create ambush and parking risk. This image supports route-planning and extraction advice.

This pressure image is a reminder that extraction is a timing decision. A profitable raid can still fail if the crew waits until every route is contested.

The vehicle action shot helps explain driving priorities: leave escape angles, avoid terrain traps, and do not commit the Trampler to fights it cannot exit.
Keyword fit and page role
SAND Raiders of Sophie map is the primary keyword for this page because the searcher is trying to make a specific decision, not browse a broad wiki. The page uses SAND Raiders of Sophie map in the title, quick answer, verification flow, FAQ, source notes, and internal links so the phrase stays clear without turning the article into repeated filler.
For SAND Raiders of Sophie map, the searcher wants a playable route, build habit, or decision rule they can use in the next raid. The useful SEO target is not raw repetition; it is a page that answers the query, shows official evidence, and gives the player a next action. Keeping SAND Raiders of Sophie map visible above the fold also helps Google and players understand that the page is about the exact search they typed.
Read the screenshot before the checklist
The official gameplay screenshot is included because SAND Raiders of Sophie map needs visual context. SAND is not a normal corridor shooter; the large Trampler, open terrain, exposed modules, and long route decisions change what beginner advice means. The screenshot lets the page point at real terrain, movement, or build pressure instead of describing an abstract system.
The official desert, ruins, and pressure screenshots stand in for the first map version because they show route shape, landmark density, and why Trampler turning space matters. When the image shows a walker, ruins, or combat pressure, treat it as a planning prompt: where can you turn, what module is exposed, what path lets you leave, and what mistake would make extraction harder? The written guide should teach that reading process.
The practical rule
Read the map by extraction lanes first: where can the Trampler enter, where can it turn, where can it hide or break line of sight, and where does the run become too long to protect? A good guide should give players a decision rule they can apply without memorizing a wiki table. In SAND, that usually means deciding before the run what success looks like, what loss is acceptable, and what condition forces the crew to leave.
If the rule cannot be used while under pressure, it is not specific enough. Replace vague advice like "be careful" with checks such as fuel state, storage value, escape angle, module damage, enemy contact, and whether the Trampler can still rotate out of danger.
How competitors handle this intent
Strong extraction-game guides for titles like ARC Raiders, Escape from Tarkov, Dune: Awakening, and Last Oasis usually pair each key decision with a map, UI shot, route image, or build example. They succeed because the player can compare the guide against what they see in game. This page follows that pattern with official SAND screenshots and direct source labels.
The weak version of this page would be a long essay about "survival" and "teamwork". The useful version tells the player where to look, when to leave, what to protect, and which mistake costs the run. That is the standard every SAND Raiders of Sophie gameplay page should meet.
How to improve with your own screenshots
The current screenshots are official store and video assets, which are safe for the first version because they are real and source-backed. The next upgrade is to replace or supplement them with captured in-game screenshots: map route, extraction prompt, fuel state, Trampler editor, storage module, damage state, and post-run result screen.
When adding user-captured images later, keep the same rule: every image must solve a problem. A screenshot should show where to click, what warning to notice, what module to protect, or what route choice to make. If it only makes the page look busy, remove it.
Map route categories
The SAND Raiders of Sophie map should eventually divide routes into beginner loops, material loops, rare-resource checks, PvP pressure lanes, and extraction-first routes. Beginner loops should stay close to known exits and avoid dense landmarks. Material loops can include ruins or industrial-looking points only when the Trampler has fuel and storage protection. Rare-resource checks should become shorter after the item is found.
Until a verified full map screenshot is available, the page should not invent coordinates. Instead, it should teach how to judge any visible route: entry angle, turn radius, loot distance, cover, escape lane, storage risk, and whether the route still works after contact. That makes the SAND Raiders of Sophie map page useful even before exact pins are ready.
Location pages this hub supports
The SAND Raiders of Sophie map hub should link to Mechanical Parts, Weird Corals, weapons and ammo, how to extract, solo beginner route, and Trampler build pages. Those pages answer smaller questions, while this hub explains how the questions connect. A player who finds Weird Corals needs extraction advice; a player farming Mechanical Parts needs storage advice; a player chasing ammo needs combat-risk advice.
This page should become the internal linking spine for all route and resource guides. When new screenshots arrive, add them as labeled map panels: low-risk route, material route, rare-resource route, contested route, extraction route, and Trampler parking example. Each panel should include what to do, what to avoid, and when to leave.
Search wording and player intent
Players search SAND Raiders of Sophie map because they are usually stuck in a live raid, not because they want a lore article. The page keeps SAND Raiders of Sophie map visible because the phrase matches a real problem: where to go first, where to find resources, how to avoid bad parking, and how to keep extraction possible while reading landmarks.
A useful SAND Raiders of Sophie map answer should be short enough to act on, but detailed enough to prevent the next mistake. That is why this SAND Raiders of Sophie map guide pairs creator research, official screenshots, role checks, and extraction rules instead of giving one vague sentence.
Screenshot checklist and proof standard
SAND Raiders of Sophie map should use screenshots as proof, not decoration. Every screenshot on the SAND Raiders of Sophie map page should answer one concrete question: what source was checked, what route or module is visible, what warning should the player notice, or what decision changes after seeing the image. If a screenshot cannot make the SAND Raiders of Sophie map advice more specific, it should be replaced with one that can.
For this SAND Raiders of Sophie map page, the first version uses official Steam, Xbox, PlayStation, tinyBuild, or official video assets because they are real, source-backed, and safe to cite while the site is still building its own capture library. The next version should add player-captured images only when the capture shows a readable UI state, route, item, Trampler part, or extraction moment.
Page update standard from the Semrush plan
The Semrush plan treats SAND Raiders of Sophie map as a living page, not a one-time article. Review SAND Raiders of Sophie map after Steam store changes, official FAQ edits, patch notes, server events, or new player-question spikes. If the answer changes, update the quick answer, screenshot caption, facts, FAQ, and related links together so the SAND Raiders of Sophie map page stays internally consistent.
The content target for SAND Raiders of Sophie map is practical depth: answer the query in the first screen, show source-backed evidence, give steps, list mistakes, and point the reader to the next guide. This is how SAND Raiders of Sophie map competes against broad gaming sites: it solves the exact player task with more useful detail than a generic news paragraph.
YouTube and player-question research
Creator & Player Research
These videos helped identify what players search for after the first run. The guide below turns those questions into a written checklist instead of copying video content.
Steps
- 1Pick an extraction lane before picking a loot target.
- 2Mark whether the Trampler can turn around near each planned stop.
- 3Use safer beginner loops until route, fuel, and repair calls feel repeatable.
- 4Treat Mechanical Parts and Weird Corals as reasons to shorten the route after pickup.
- 5Avoid parking inside ruins or landmarks unless the Trampler has a clear exit angle.
- 6Add exact pins only after verified screenshots support the location claim.
Common Mistakes
- Using a route that lets the Trampler enter but not turn out.
- Publishing unverified map pins because players want quick answers.
- Planning loot before extraction distance.
- Ignoring how storage value changes the route after a rare pickup.
Official Sources
Update Policy
- Use official store, support, and publisher pages before copying claims from community posts or third-party store mirrors.
- Early Access details can change after patches, discounts, regional store updates, or server announcements, so every factual page needs a visible review date.
- Steam Charts and similar tools are useful context for activity, but they are not official server-health or matchmaking-capacity sources.
Replace placeholder route screenshots with verified full-map and route captures when available.
FAQ
Is there a full SAND Raiders of Sophie map here?
This first version uses source-backed gameplay screenshots and route logic. Exact pins should be added only when verified map captures are available.
What should beginners look for on the map?
Look for short loops, clear turn space, nearby extraction lanes, and loot stops that do not trap the Trampler.
Should resource guides link back to the map?
Yes. Mechanical Parts, Weird Corals, ammo, and extraction all depend on route and parking decisions.
How do I know a route is too risky?
A route is too risky when fuel, turn space, repair access, enemy contact, or extraction distance becomes uncertain after valuable loot is secured.
Why does this SAND Raiders of Sophie map page use screenshots?
SAND Raiders of Sophie map needs screenshots because players should be able to compare the guide with a real store page, source page, gameplay frame, route, or Trampler state instead of trusting unsupported text.
How should I use this SAND Raiders of Sophie map guide during a raid or launch check?
Use SAND Raiders of Sophie map as a decision checklist: read the quick answer, check the screenshots and official sources, follow the steps, then move to the related page that matches your next problem.